
Securing the ELK Stack with Nginx
February 20, 2019
If you’ve been following Elasticsearch-related news over the past few months, you’ve most likely heard about a series of cases in which sensitive data stored in Elasticsearch clusters was exposed. Here’s a recap just in case — Equifax, CITI, AIESEC to name just a few.
Elasticsearch features are available via an extensive REST API over HTTP, which makes it easy to fit it into modern architectures. It’s super easy to create a new index, search across multiple indices and perform other management actions. Since Elasticsearch and Kibana don’t ship with built-in authentication, this also means that data can be easily exposed to malicious activity if simple yet necessary steps are not taken to secure it.
In this article, I’d like to explain how to implement one of the more common and simple methods of securing the ELK Stack — deploying nginx in front of Elasticsearch and Kibana to act as a reverse proxy.
Setting up ELK
I’m not going to provide all the instructions for installing Kibana and Elasticsearch. If you need help with this, check out our ELK guide. However, to make sure the steps for securing these two components work correctly, we do need to verify we have some settings configured correctly — changing the default ports and binding to localhost. More on the subject:
Configuring Kibana
Open the Kibana configuration file, change the default port, and make sure Kibana is bound to localhost.
sudo vim /etc/kibana/kibana.yml

server.port:8882
server.host: "127.0.0.1"
Save the file and restart Kibana:
sudo service kibana restart
Configuring Elasticsearch
Repeat the same process with Elasticsearch.
Open the Elasticsearch configuration file, change the default port, and in the Network section, make sure Elasticsearch is bound to localhost:
sudo vim /etc/elasticsearch/elasticsearch.yml

network.host: "127.0.0.1"
http.port: 8881
Save the file and restart Kibana:
sudo service elasticsearch restart
You’ll see that Kibana can still be easily accessed by simply opening your browser at:
http://localhost:8882:
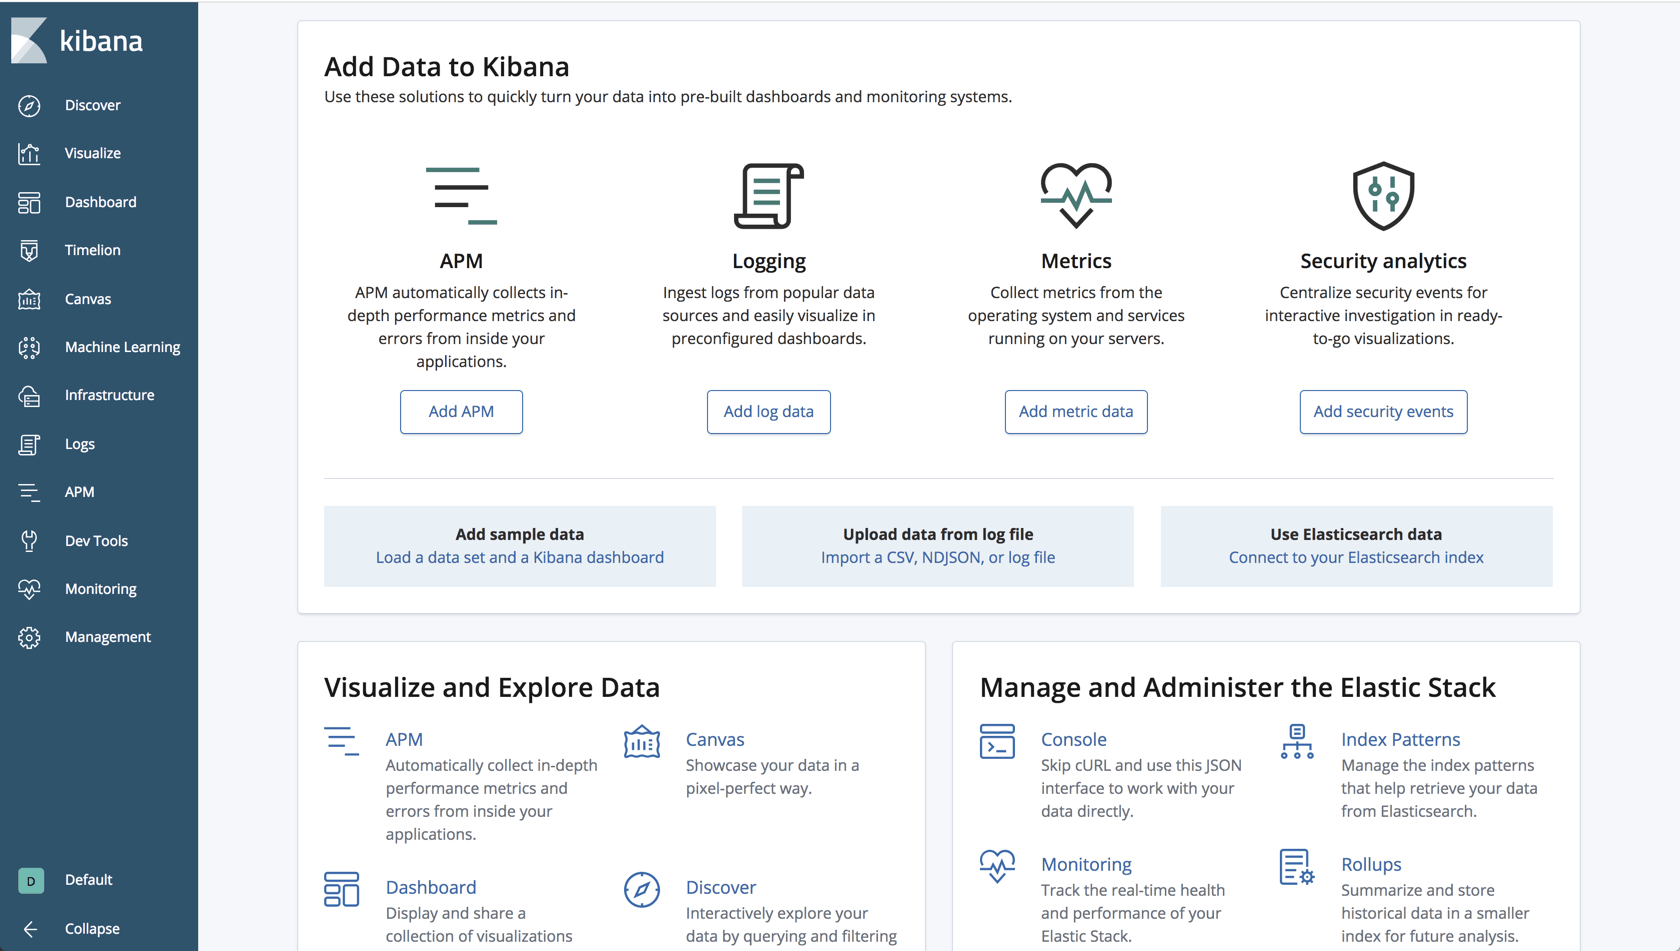
Our next step will make sure this can no longer happen.
Installing and configuring Nginx
To start the process of adding authentication, we’ll install nginx:
sudo apt-get install nginx
We’re also going to install apache2-utils to help us create the accounts used with basic authentication:
sudo apt-get install apache2-utils
Next, we’ll create a user account for the basic authentication (I chose kibanauser, but you can of course replace this with any user account you’d like):
sudo htpasswd -c /etc/nginx/htpasswd.users kibanauser
After hitting enter, we’ll be prompted to enter and verify a password for the user.
New password:
Re-type new password:
Adding password for user kibanauser
Next, we’re going to create an nginx configuration file:
sudo vim /etc/nginx/conf.d/kibana.conf
Enter the following configuration:
worker_processes  1;
events {
  worker_connections 1024;
}

http {
  upstream elasticsearch {
    server 127.0.0.1:9200;
    keepalive 15;
  }

  upstream kibana {
    server 127.0.0.1:5601;
    keepalive 15;
  }

  server {
    listen 8881;

    location / {
      auth_basic "Restricted Access";
      auth_basic_user_file /etc/nginx/htpasswd.users;


      proxy_pass http://elasticsearch;
      proxy_redirect off;
      proxy_buffering off;

      proxy_http_version 1.1;
      proxy_set_header Connection "Keep-Alive";
      proxy_set_header Proxy-Connection "Keep-Alive";
    }

  }

  server {
    listen 8882;

    location / {
      auth_basic "Restricted Access";
      auth_basic_user_file /etc/nginx/htpasswd.users;

      proxy_pass http://kibana;
      proxy_redirect off;
      proxy_buffering off;

      proxy_http_version 1.1;
      proxy_set_header Connection "Keep-Alive";
      proxy_set_header Proxy-Connection "Keep-Alive";
    }
  }
}
We are asking nginx to listen to port 8881 for connections to Elasticsearch and port 8882 for connections to Kibana, using basic authentication with the account we created with htpasswd.
That’s all there is to it.
Restart nginx and restart Kibana:
sudo service nginx restart
sudo service kibana restart
Verifying authentication
Both Elasticsearch and Kibana are now gated with basic authentication. We can verify this using some cURL commands.
For Elasticsearch, use:
curl --verbose http://kibanauser:1234@127.0.0.1:8881
You should see the following output:
* Rebuilt URL to: http://kibanauser:1234@127.0.0.1:8881/
*   Trying 127.0.0.1...
* Connected to 127.0.0.1 (127.0.0.1) port 8881 (#0)
* Server auth using Basic with user 'kibanauser'
> GET / HTTP/1.1
> Host: 127.0.0.1:8881
> Authorization: Basic a2liYW5hdXNlcjoxMjM0
> User-Agent: curl/7.47.0
> Accept: */*
>
< HTTP/1.1 200 OK
< Server: nginx/1.10.3 (Ubuntu)
< Date: Sun, 10 Feb 2019 11:14:13 GMT
< Content-Type: application/json; charset=UTF-8
< Content-Length: 493
< Connection: keep-alive
<
{
  "name" : "9qenDRz",
  "cluster_name" : "elasticsearch",
  "cluster_uuid" : "rbfDdSWaRmyrh9kOSVNwyg",
  "version" : {
    "number" : "6.6.0",
    "build_flavor" : "default",
    "build_type" : "deb",
    "build_hash" : "a9861f4",
    "build_date" : "2019-01-24T11:27:09.439740Z",
    "build_snapshot" : false,
    "lucene_version" : "7.6.0",
    "minimum_wire_compatibility_version" : "5.6.0",
    "minimum_index_compatibility_version" : "5.0.0"
  },
  "tagline" : "You Know, for Search"
}
* Connection #0 to host 127.0.0.1 left intact
For Kibana:
curl --verbose http://kibanauser:1234@127.0.0.1:8882
And the output:
* Rebuilt URL to: http://kibanauser:1234@127.0.0.1:8882/
*   Trying 127.0.0.1...
* Connected to 127.0.0.1 (127.0.0.1) port 8882 (#0)
* Server auth using Basic with user 'kibanauser'
> GET / HTTP/1.1
> Host: 127.0.0.1:8882
> Authorization: Basic a2liYW5hdXNlcjoxMjM0
> User-Agent: curl/7.47.0
> Accept: */*
>
< HTTP/1.1 302 Found
< Server: nginx/1.10.3 (Ubuntu)
< Date: Sun, 10 Feb 2019 11:15:43 GMT
< Content-Type: text/html; charset=utf-8
< Content-Length: 0
< Connection: keep-alive
< location: /app/kibana
< kbn-name: kibana
< kbn-xpack-sig: 4081d734fcd0e7d12f32aeb71f111a2d
< cache-control: no-cache
<
* Connection #0 to host 127.0.0.1 left intact
Opening up our browser at http://localhost:8882 displays an authentication dialog (since I’m using an EC2 instance, the URL specifies the public IP):
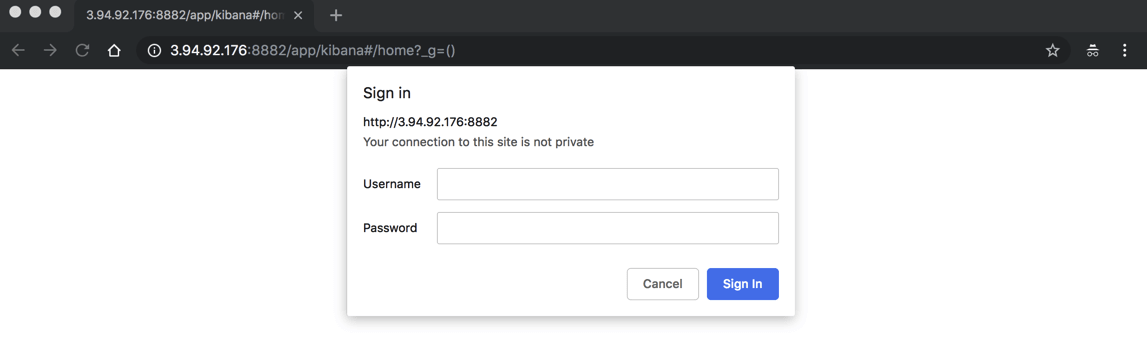
Enter the user and password you configured, and Kibana is displayed.
Endnotes
Like many open source projects, the ELK Stack lacks some key ingredients to make it production-ready. Security is one of them. While using nginx as a reverse proxy helps us close some of the security gaps, it will not help us protect our stack from specific attack vectors and Elasticsearch-specific vulnerabilities.
That’s where using a completely managed service like Logz.io can help, providing users with a bullet-proof platform that includes role-based access, user control, SSO and is fully compliant with the strictest regulatory requirements.
Of course, the nginx configuration described here was just a simple example. More advanced configurations will allow you to encrypt traffic with SSL and we will explore adding SSL into the mix in a future article.

You Might Also Like

Introducing App 360: Your Observability-Centric, Cost-Effective APM Alternative

