A Fluent Bit Tutorial: Shipping to Elasticsearch
May 15, 2018

What the Beats family of log shippers are to Logstash, so Fluent Bit is to Fluentd — a lightweight log collector, that can be installed as an agent on edge servers in a logging architecture, shipping to a selection of output destinations.
Fluentd is often considered, and used, as a Logstash alternative, so much so that the “EFK Stack” has become one of the most popularly used acronyms in open source logging pipelines. Fluent Bit is also taking an increasingly big slice of that pie, especially in Docker and Kubernetes environments.
This article details the steps for using Fluent Bit to ship log data into the ELK Stack, and also describes how to hook it up with Logz.io. The steps described here assume you have a running ELK deployment or a Logz.io account.
Fluent Bit vs. Fluentd
Fluent Bit is an open source log shipper and processor, that collects data from multiple sources and forwards it to different destinations. Fluent Bit is written in C and can be used on servers and containers alike.
Sounds pretty similar to Fluentd, right?
The main difference between the two is performance. While Fluentd requires about 40MB and can be expensive, especially if you’re running tens or hundreds of instances, all Fluent Bit requires is…wait for it…450KB! This compactness allows it to be installed on small systems such as IoT devices.
Fluent Bit also requires no dependencies to run whereas Fluentd requires Ruby gems. While both are pluggable by design, with various input, filter and output plugins available, Fluentd naturally has more plugins than Fluent Bit, being the older tool.
Another key difference is that Fluent Bit was developed with cloud-native in mind, and boasts extensive support for Docker and Kubernetes, as reflected in the supported deployment methods, data enrichment options, and supported plugins.
Fluent Bit and Fluentd can be used in tandem, similar to how Beats and Logstash are used — the former acting as the forwarder and the latter as the aggregator. Whether they are indeed used together depends on your architecture.
Installing Fluent Bit
Now that we understand more about Fluent Bit, let’s see how we can use it to ship data into Elasticsearch.
As mentioned above, Fluent Bit is extremely lightweight in nature and leaves a small CPU and memory footprint so no special system requirements there. Conveniently, there are multiple ways to install Fluent Bit — you can build from source, download an installation package, use Docker or install via repositories — the method described here.
To install Fluent Bit on Debian, first add the server GPG key to be able to download signed packages:
wget -qO - http://packages.fluentbit.io/fluentbit.key | sudo apt-key add -
Next, add the apt server entry to your sources list:
sudo vim /etc/apt/sources.list
deb http://packages.fluentbit.io/ubuntu xenial main
Update the apt database, and install Fluent Bit with:
sudo apt-get update
sudo apt-get install td-agent-bit
Using systemd, start the Fluent Bit service:
sudo service td-agent-bit start
To make sure all is working as expected, use:
sudo service td-agent-bit status
You should be seeing something similar to this output:
 td-agent-bit.service - TD Agent Bit

Loaded: loaded (/lib/systemd/system/td-agent-bit.service; disabled; vendor preset: enabled)

 Active: active (running) since Tue 2018-05-13 08:02:46 UTC; 12s ago

Main PID: 30230 (td-agent-bit)

 Tasks: 2

Memory: 492.0K

 CPU: 14ms

CGroup: /system.slice/td-agent-bit.service

     └─30230 /opt/td-agent-bit/bin/td-agent-bit -c
/etc//td-agent-bit/td-agent-bit.conf

May 5 08:02:46 ip-172-31-48-79 systemd[1]: Started TD Agent Bit.

May 5 08:02:46 ip-172-31-48-79 td-agent-bit[30230]: [2018/05/05 08:02:46] [ info] [engine] started
Fluent Bit’s default configuration collects CPU stats from the host and sends it to stdout. Take a look via your /var/log/syslog file:
sudo tail -f /var/log/syslog
May 5 11:35:01 ip-172-31-57-90 td-agent-bit[31021]: [0] cpu.local:
[1525952091.000225702, {"cpu_p"=>0.000000, "user_p"=>0.000000,
"system_p"=>0.000000, "cpu0.p_cpu"=>0.000000, "cpu0.p_user"=>0.000000,
"cpu0.p_system"=>0.000000}]
A bit about Fluent Bit Configuration
Before we continue on and understand how to use Fluent Bit to ship into the ELK Stack, a short explanation on how to configure the software.
While Fluend Bit can be configured via the command line, the best way is via the configuration file located (on Debian), at:
/etc/td-agent-bit/td-agent-bit.conf
The configuration file contains multiple sections. (e.g. [SERVICE]), each containing key: value entries (e.g. Host 127.0.0.1) defining it.
There are four types of sections that can be defined: service, input, filter and output:
- Service – this section defines global configuration settings such as the logging verbosity level, the path of a parsers file (used for filtering and parsing data), and more.
- Input – this section defines the input source for data collected by Fluent Bit, and will include the name of the input plugin to use.
- Filter – this section defines which filter plugin to use for filtering the data.
- Output – this section defines the output destination for the data, and will include the name of the output plugin to use.
Example Fluent Bit configuration
Open the Fluent Bit configuration file to see an example of how the different sections are defined:
sudo vim /etc/td-agent-bit/td-agent-bit.conf

[SERVICE]

    Flush        5
    Daemon       Off
    Log_Level    info
    Parsers_File parsers.conf
    Plugins_File plugins.conf
    HTTP_Server  Off
    HTTP_Listen  0.0.0.0
    HTTP_Port    2020

[INPUT]
    Name cpu
    Tag  cpu.local
    Interval_Sec 1

[OUTPUT]
    Name  stdout
    Match *
Note the way section names are bracketed, the key:value formatting for entries in the different sections and the indentation used. More information on configuring Fluent Bit is available in the documentation.
Using Fluent Bit to Ship into ELK
Presuming you have a local Elasticsearch and Kibana deployment, you can use Fluent Bit’s Elasticsearch output plugin to easily ship the collected data to Elasticsearch:
Stop Fluent Bit, and edit the configuration file:
sudo service td-agent-bit stop
sudo vim /etc/td-agent-bit/td-agent-bit.conf
Use this configuration for the output section:
[OUTPUT]
    Name  es
    Match *
    Host 127.0.0.1
    Port 9200
    Index fluent_bit
    Type cpu_metrics
Fire up Fluent Bit again:
sudo service td-agent-bit start
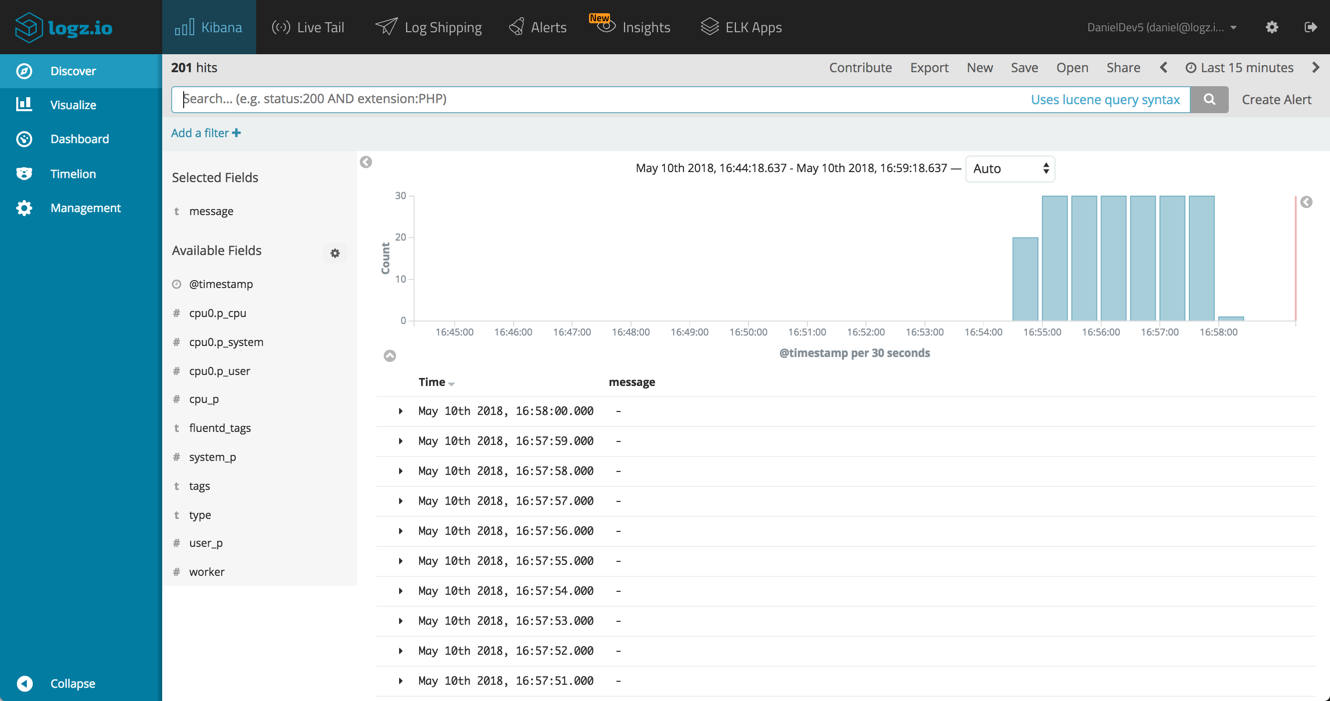
Within a few seconds, you should see a new Fluent Bit index created in Elasticsearch:
curl -XGET 'localhost:9200/_cat/indices?v&pretty'
health status index                           uuid                   pri rep docs.count docs.deleted store.size pri.store.size
green  open   .kibana                         rVTBWnDaSjaWGSWW77ILtw   1   0          4            1     27.5kb         27.5kb
yellow open   fluent_bit                      AS8jN05VR_WCJXeCvXjJpg   5   1         54            0    144.4kb        144.4kb
Open up Kibana, and define the new index pattern (fluent_bit-*)to start analysis of the data.

Using Fluent Bit to Ship to Logz.io
If you’re using Fluent Bit as your log collector, or plan on doing so in the future, and are a Logz.io user, your pipeline will need to include Fluentd as well.
Installing Fluentd
For installing Fluentd from an apt repository, use this shell script (for more information on other systems and methods, see the full installation instructions):
curl -L
https://toolbelt.treasuredata.com/sh/install-ubuntu-xenial-td-agent3.sh
| sh
Next, install the Logz.io plugin for Fluentd. To do this, we need to use the gem supplied with Fluentd:
sudo /opt/td-agent/usr/sbin/td-agent-gem install fluent-plugin-logzio
Configure Fluentd
We now need to configure Fluentd to both input from Fluent Bit and ship to Logz.io.
sudo vim /etc/td-agent/td-agent.conf
In the configuration file, define Fluent Bit as the source and Logz.io as the destination:
<match **.**>
    type logzio_buffered
    endpoint_url https://listener.logz.io:8071?token=<yourLogzioToken>&type=cpu_metrics
    output_include_time true
    output_include_tags true
    buffer_type    file
    buffer_path    /tmp/buffer
    flush_interval 10s
    buffer_chunk_limit 1m
</match>
<source>
  type forward
  bind 0.0.0.0
  port 24224
</source>
In the match section, we are pointing to Logz.io’s listeners using a Logz.io account token (retrieved from the Settings page in the Logz.io UI).
In the source section, we are using the forward input type — a Fluent Bit output plugin used for connecting between Fluent Bit and Fluentd.
Restart Fluentd:
sudo /etc/init.d/td-agent start
Configuring Fluent Bit
The last step is to configure Fluent Bit to output using the forward plugin:
sudo service td-agent-bit stop
sudo vim /etc/td-agent-bit/td-agent-bit.conf
Change the output section as follows:
[OUTPUT]
    Name          forward
    Match         *
    Host          127.0.0.1
    Port          24224
Start Fluent Bit:
sudo service td-agent-bit start
Endnotes
It’s interesting to compare the development of Fluentd and Fluent Bit and that of Logstash and Beats. In both cases, a lot of the heavy work involved in collecting and forwarding log data was outsourced to the younger (and lighter) sibling in the family.
There are some differences between Beats and Fluent Bit which we will cover in a future article just in case you were deliberating between the two, but in either case, both are natural partners in a pipeline involving the ELK Stack.
While Fluent Bit is a relatively young log shipper in the market, there are key indicators that show that it will quickly become an extremely popular one.
To be continued…

You Might Also Like
Tool Consolidation Is Dead. Long Live Agentic AI.