
Log Paging with Logz.io and OnPage
Getting notified when something goes wrong in your environment is a basic requirement in any DevOps or IT operations team. Businesses now expect their engineers to be online 24/7 and respond with maximum speed and efficiency.
More on the subject:
A growing number of messaging and alerting tools seek to help these teams comply with this demand. As our CEO, Tomer Levy, explained in InfoWorld, the rise of ChatOps is another natural development in this space, further helping to bridge the gap between developers and operations.
Logs are used to trigger alerts in these messaging applications, so DevOps crews can get alerted as soon as a specific log message is logged by a designated process that is running in your environment. If you’re logging with Logz.io, you have the option to use pre-made integrations to get alerted by a wide range of messaging and monitoring tools such as Slack, PagerDuty, and Datadog.
You can also create your own custom integrations using webhooks, and in this post, I’d like to show you how by demonstrating an integration with an interesting paging service called OnPage.
OnPage promises to help DevOps teams keep track of each and every alert triggered in your environment by providing a persistent, detailed, and comprehensive alert management platform. OnPage’s mobile apps (iOS/Android) play the role of traditional pagers, allowing managers to distribute alerts to team members and message them. OnPage offers enterprise users a webhook API for full integration with the service, and we will make use of this to integrate with Logz.io’s alerting mechanism.
Let’s get started!
Setting Up the OnPage WebHook API
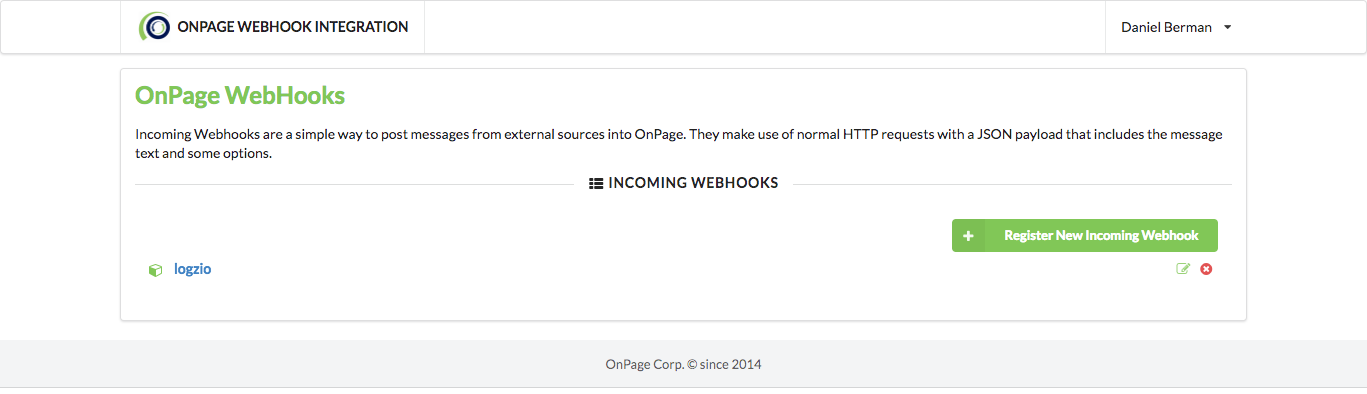
Our first step involves generating the credentials for accessing the OnPage API — a client ID and a secret key. This is done in the OnPage dedicated webhook application, where you will need to click Register New Incoming Webhook.
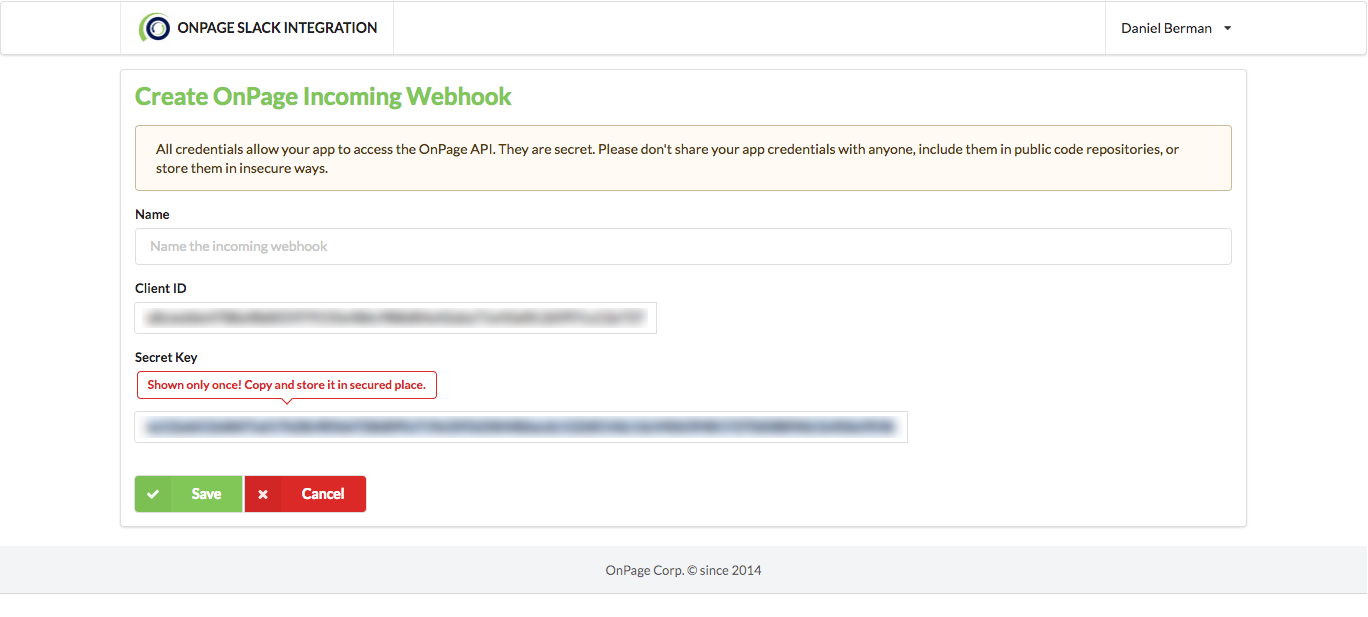
The credentials don’t have an expiration date and time, and you can create as many keys as you want — but it’s probably a best practice to have only one to make it easier for if you would ever need to remove the integration with Logz.io.
Don’t forget to save the new integration. Otherwise, your credentials will not be registered correctly.
Creating a New Logz.io Endpoint
Now that we have the required pieces to set up the integration, we’re going to set up a new alert endpoint in Logz.io.
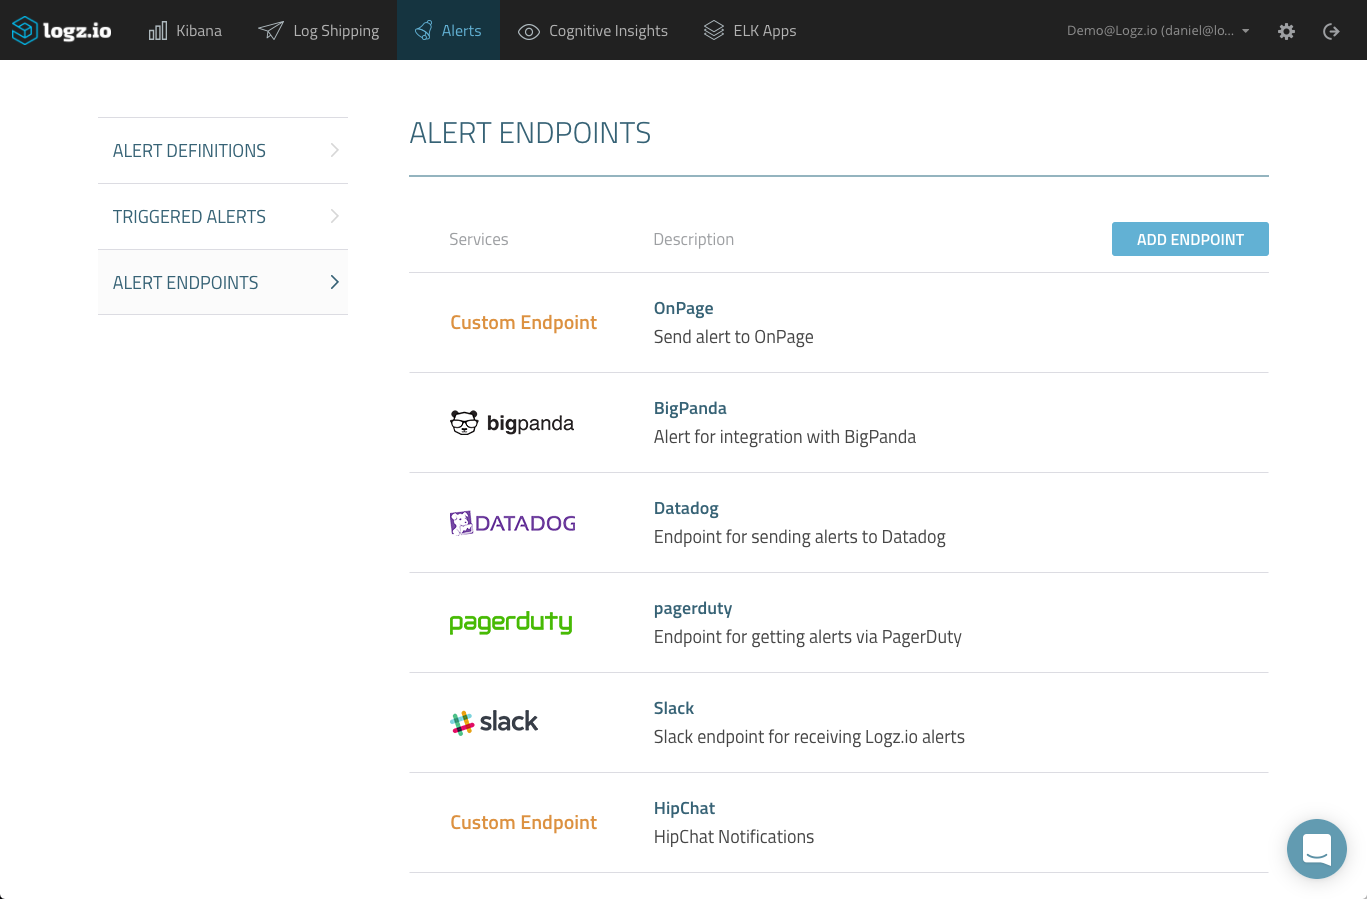
Under the Alerts tab in Logz.io, select the “Alert Endpoints” page and click “Add Endpoint.”
Select “Custom” from the endpoint type drop-down menu.
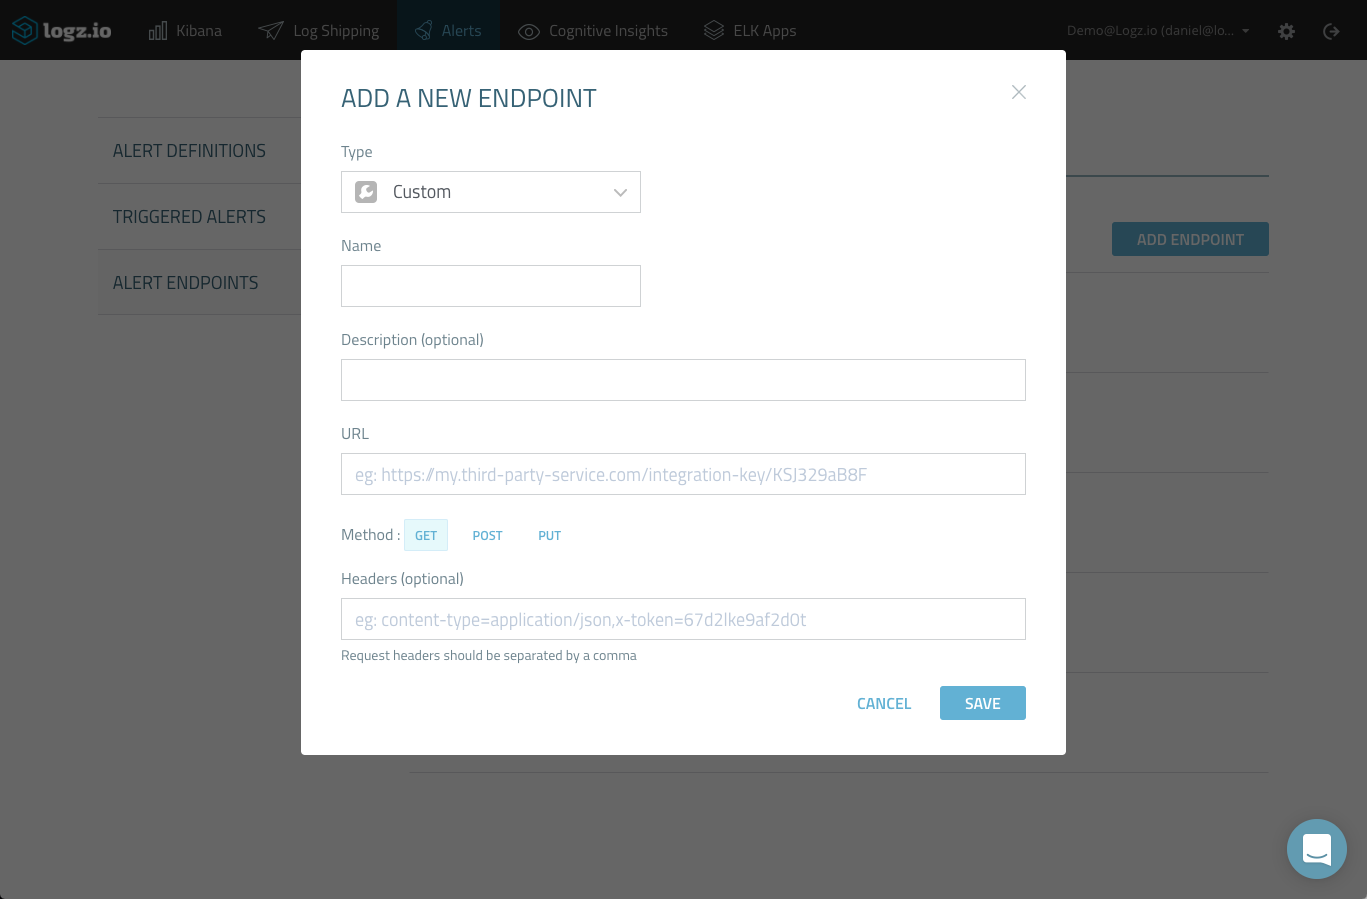
Enter a name and description for the new endpoint and then configure the webhook URL and method as follows:
- URL – enter “https://webhook.onpage.com/gw/v1/page”
- Method – select the “POST” method
- Header – (leave this option empty)
- Body – use the following JSON format:
{
 "clientId": "clientId",
 "secretKey": "secretKey",
 "message": {
   "subject": "Alert from Logz.io",
   "body": "This is an alert from Logz.io",
   "recipients": [
     "OnPageId"
   ],
   "priority": "HIGH"
 }
}
A few comments on the above request.
Be sure to validate the JSON before inserting it in the endpoint configuration. Also, the “OnPageId” is the OnPage ID of the recipient — or, in other words, the person to whom you want to send the alert. The ID is created when the recipient signs into his OnPage app on his mobile device (iOS/Android).
After you save the new endpoint, it will be added to the list of endpoints defined in Logz.io:
Creating a New Alert
Now that the integration is all set up, we can now test it with a new log-based alert.
Creating a new alert in Logz.io is done from the “Discover” tab in Kibana. Enter your query in the “Search” field — in this case, I’m looking at an Apache access log that reports a 504 error (type:apache_access AND response:504):
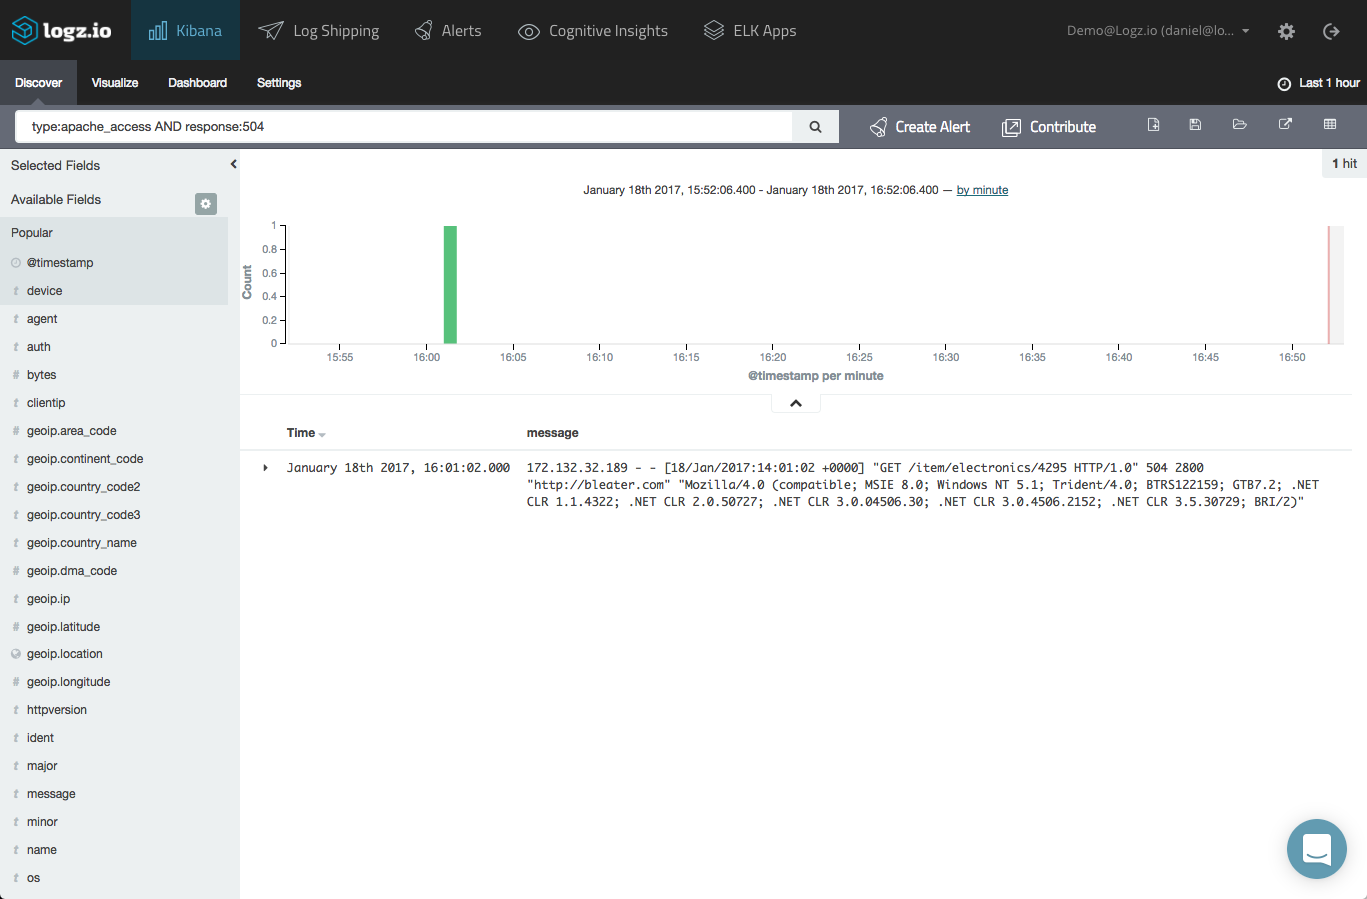
Once you’ve narrowed down the type of log message on which you want to be alerted, click the “Create Alert” button. The query is copied to the Alert Creation Wizard, where it can be modified as desired:
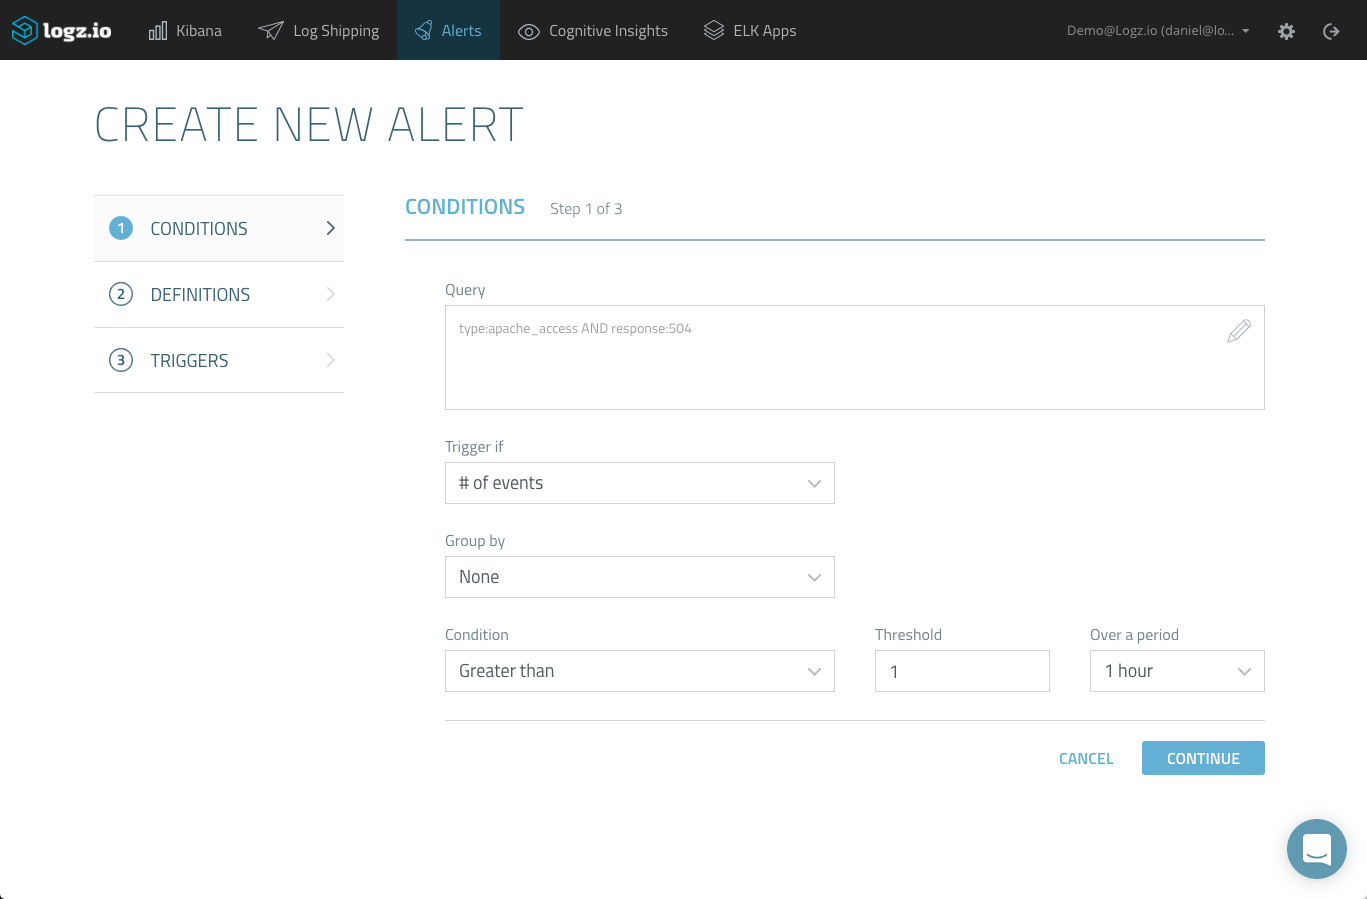
On the first page of the wizard, you will need to configure the trigger conditions — or, in other words, select which specific conditions will trigger an alert.
Then, after naming and describing the alert on the following page, all that’s left to do is to select the OnPage endpoint on the third and final page of the wizard:
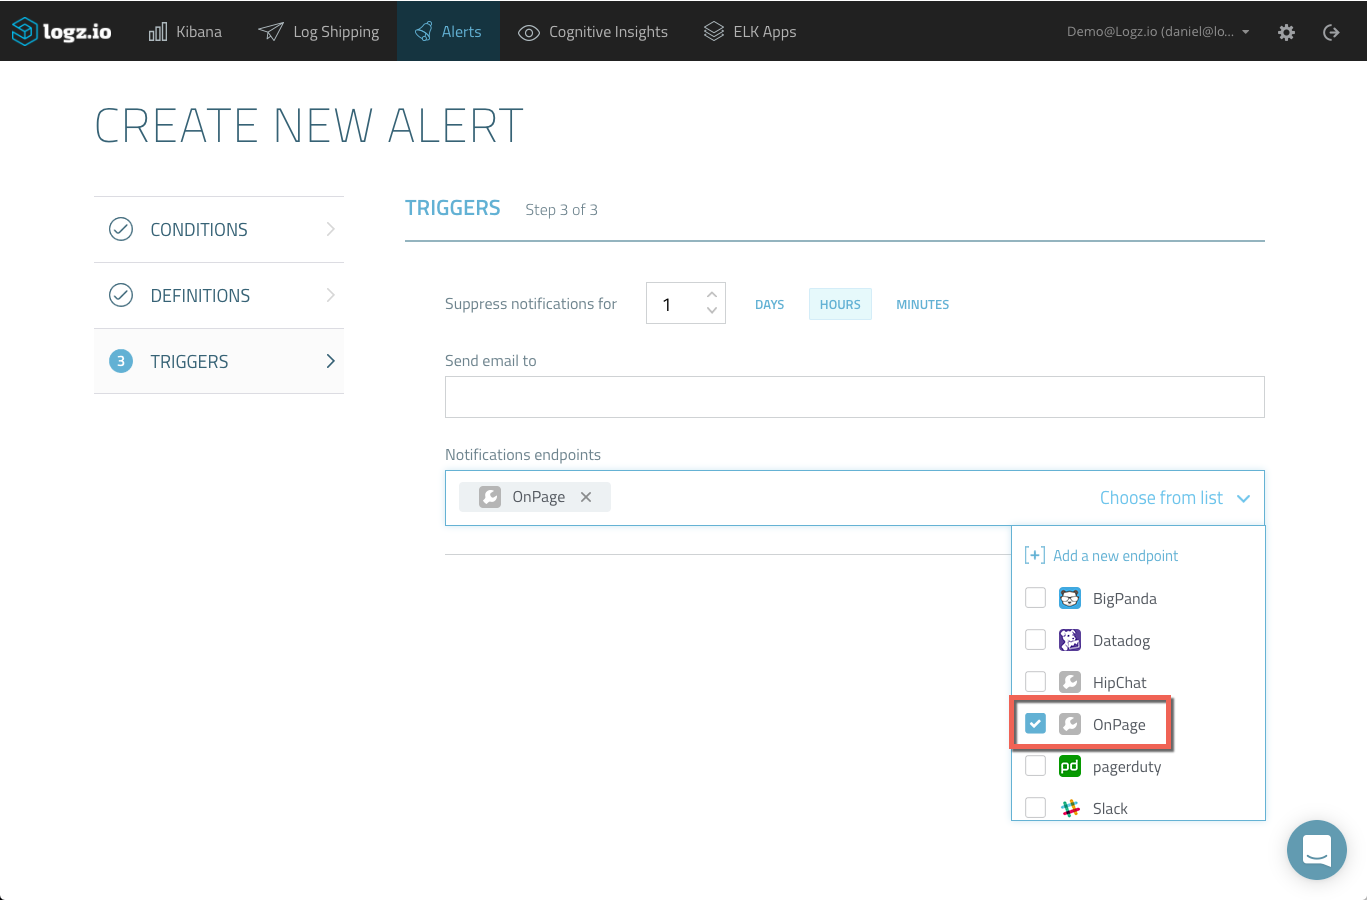
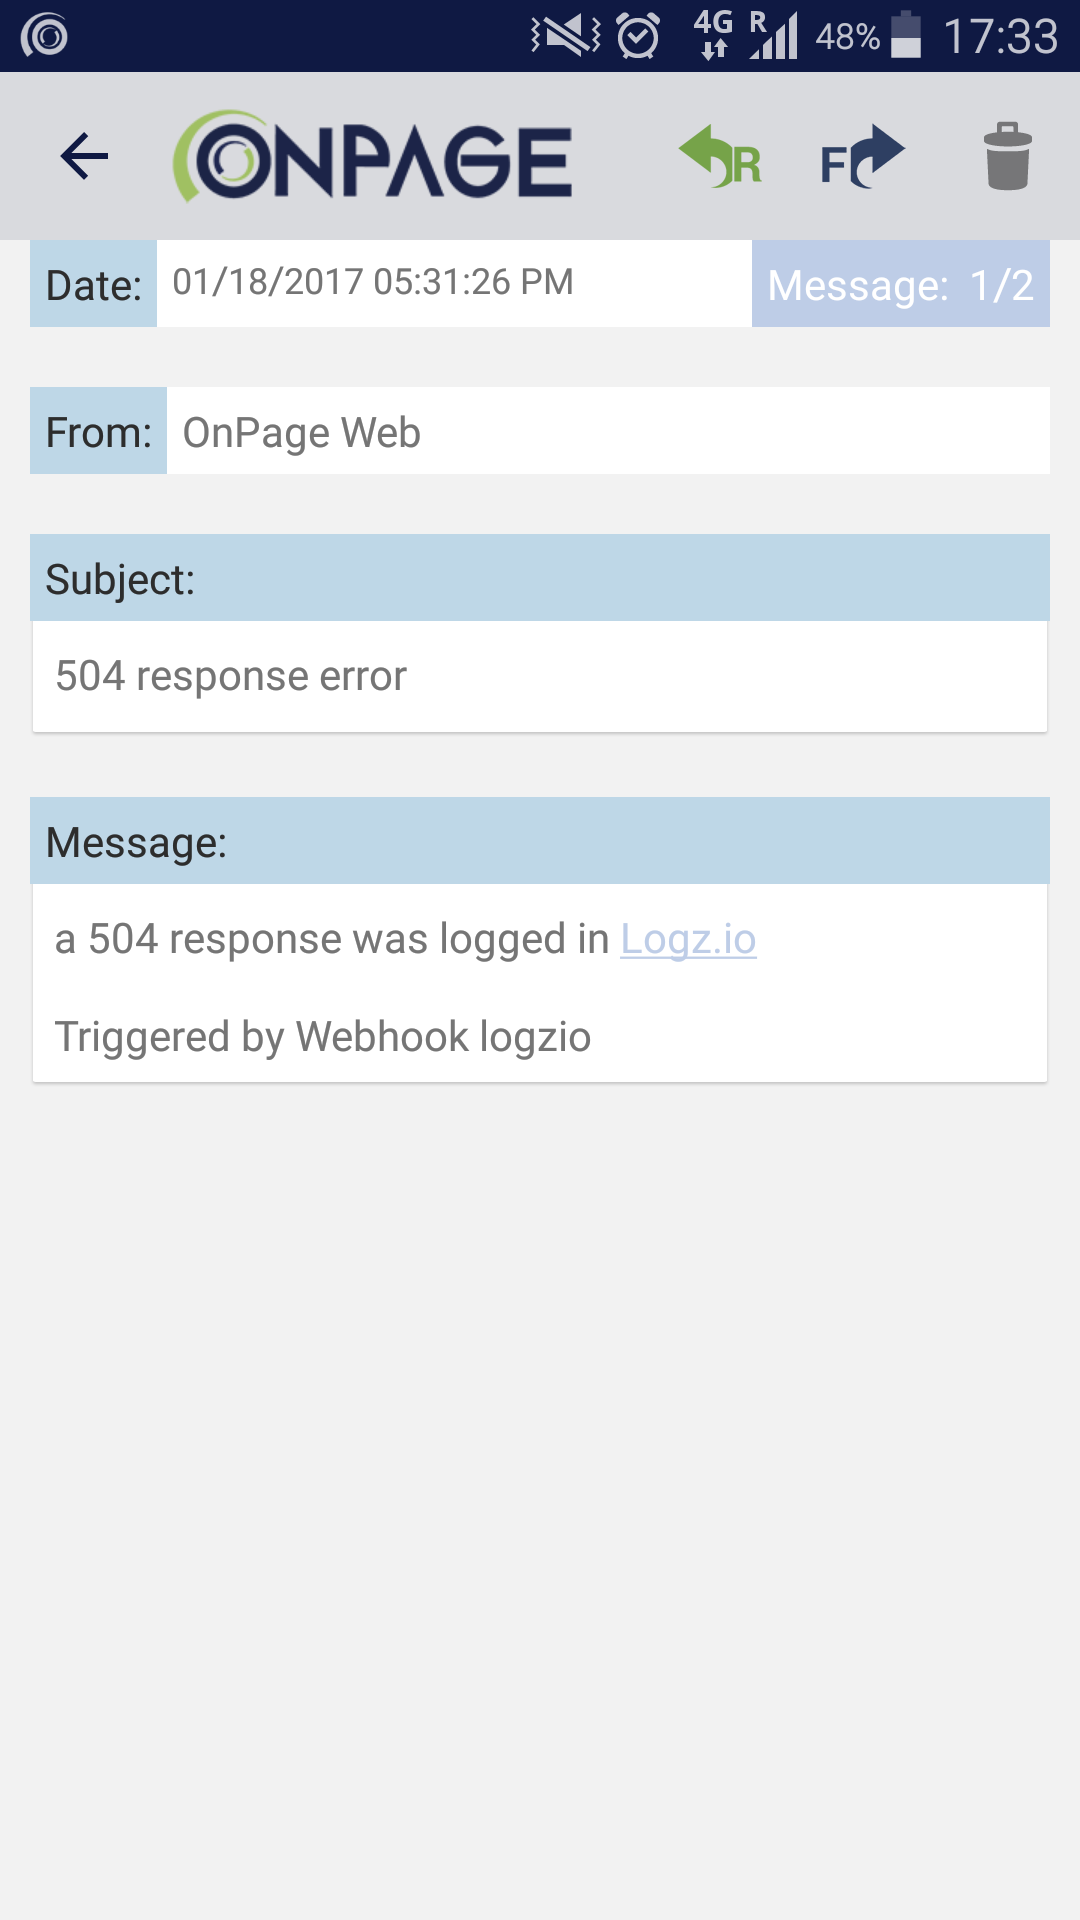
Once created, and according to the definitions we entered in the alert, Logz.io will trigger an alert if a 504 response is logged from our Apache web server and a page will be sent to the OnPage recipient.
Final Notes
Because logs are the ultimate raw indicator of what is taking place under the hood of both your applications and the infrastructure they are running on, using them to trigger alerts is becoming the standard DevOps practice.
There are two main challenges in setting this up — understanding on which log message you want to trigger an alert (learn about how we use machine learning to do just this) and figuring out the best way to receive and manage these alerts. If you’re looking for an alerting or messaging tool, OnPage’s services are definitely worth exploring.
Happy paging!
You Might Also Like

Must-Sees at #KubeCon and #CloudNativeCon 2019

Comparing Six Top Observability Software Platforms
Get started for free
Completely free for 14 days, no strings attached.